10 AI Video Background Remover Tools (Free & Paid)
Ten tools that cut the subject out of a video clip and put it anywhere you want. Six work free, four cost money. Here is what each one does well, and where it falls short.

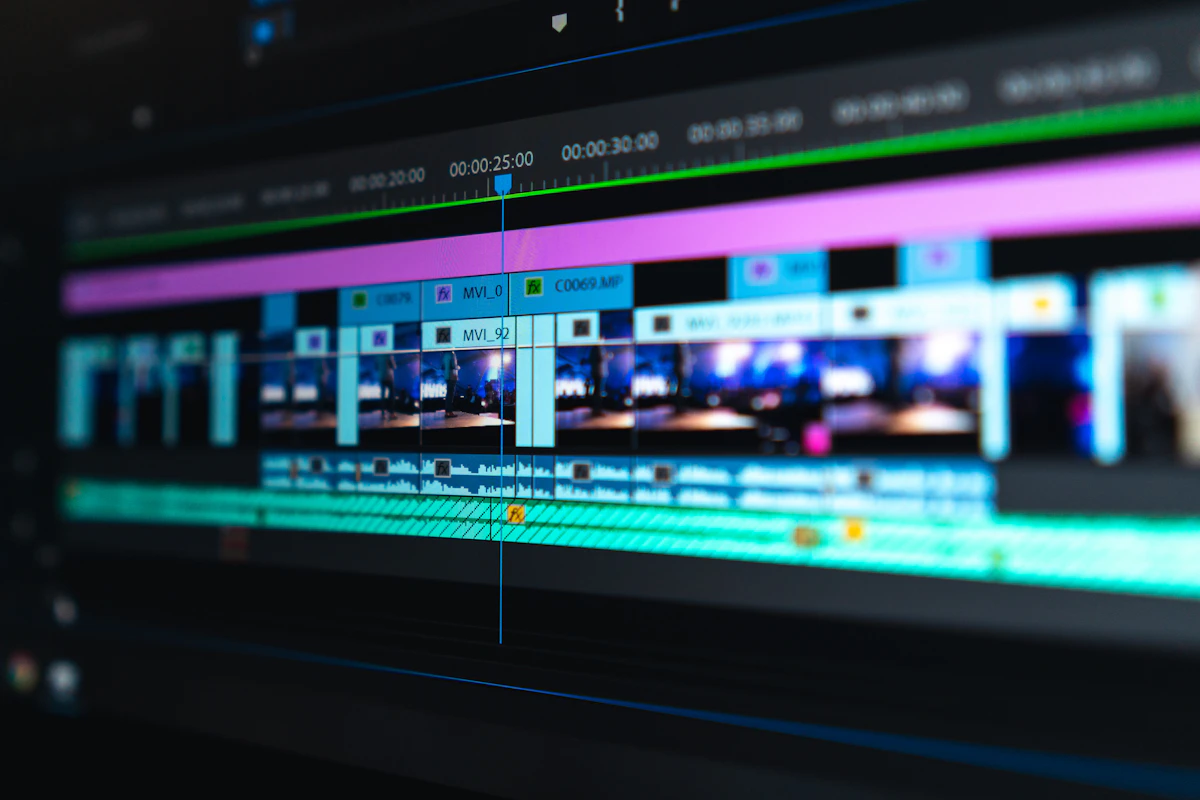
Quick Answer: Which Video Background Remover Should You Use?
For most people, Unscreen is the fastest free option because it runs in the browser and needs no install. CapCut is the better choice if you also want to edit, caption, and publish short form clips. When the footage is professional or the edges are hard, move up to DaVinci Resolve (free) or Adobe Premiere Pro and After Effects (paid).
- Best free and fastest: Unscreen, for one off jobs.
- Best free for creators: CapCut, if you publish to social platforms.
- Best free professional editor: DaVinci Resolve.
- Best for marketing clips: Canva, when templates matter more than fine control.
- Best paid AI workflow: Runway.
- Best paid precision work: After Effects, then Premiere Pro.
What an AI Video Background Remover Does
An AI video background remover isolates the main subject in a clip and makes everything else transparent. You get a cutout layer you can place over a new background, and the tool handles the tracking work across every frame.
The hard part of video is that the subject moves. A photo background remover only has to guess once. A video tool has to guess thousands of times and keep guessing right. That is what separates the tools on this list from a simple masking filter.
Most of them work in three steps, and knowing the steps tells you where quality comes from:
- Segmentation. The model labels each pixel as subject or background.
- Matting and tracking. It refines soft edges such as hair, then follows the subject frame by frame.
- Compositing. The cutout is placed over an empty background, a solid color, or your own footage.
You will hear the words keying, chroma key, and matting used together. They overlap. Chroma key removes one color, which is why it needs a green or blue screen. AI matting learns what the subject looks like and works without a screen. Most tools here offer both, and fall back to classic keying when a clip has strong color contrast.
About Pricing on This List
Free tiers, watermarks, and length caps change often. Check each tool's site for current pricing. The job each tool does is what matters here, not the discount running this month.
How to Choose a Video Background Remover
Start with the job, not the brand. A browser tool that exports a clip with transparency is fine for social posts, and a poor fit if you need to key a two minute interview. Decide what you shoot and how long the clips run, then pick from there.
- Auto mask quality: How well does it track hair, edges, and motion without manual fixes?
- Manual cleanup: Can you paint the mask back in when the model loses the subject?
- Clip length limits: Free tiers often cap length, resolution, or daily renders.
- Watermark policy: Some free tools stamp their name on every export.
- Transparent export: Look for WebM, MOV with alpha, or PNG sequences if you plan to reuse the cutout.
- Editing tools: Trimming, captions, audio, and color matter if the tool is also your editor.
- Batch processing: Essential if you cut the same footage into many clips.
- Commercial use: Check the terms if client work or paid content is on the table.
The table below is a quick snapshot. Prices shift, so treat it as a starting point.
| Tool | Best For | Free Plan | Standout Feature |
|---|---|---|---|
| Unscreen | Quick jobs in a browser | ✓ Yes | No install, transparent export |
| CapCut | Social clips and short form | ✓ Yes | Full editor built in |
| DaVinci Resolve | Professional editing | ✓ Yes | Magic Mask and Delta Keyer |
| Canva | Marketing and social video | ✓ Limited | Templates and brand assets |
| Remaker.ai | Fast online jobs | ✗ Watermark | Many AI media tools together |
| Blender | Free power and no limits | ✓ Yes | Open source, unlimited length |
| Runway | AI first creative work | ✗ Credits | Keying inside an AI suite |
| Adobe Premiere Pro | Pro editing pipelines | ✗ Paid | Object Mask and AI removal |
| Adobe After Effects | Hard shots and composites | ✗ Paid | Roto Brush precision control |
| Filmora | Beginners moving to pro work | ✗ Trial | Simple AI tools, clean menus |
The Best Free and Freemium Tools
These six handle real work at no cost, or close to it. If you are not sure where to start, begin here. Free tiers tend to cap clip length or daily renders, which is fine for short clips and painful for long ones.
1. Unscreen
Unscreen is the least fussy way to get a transparent video. You drop a clip into the page, it masks the subject, and you download the result. No account is required for a quick test, which makes it the fastest first try on the list.
The model handles hair and moderate movement well. Free exports are short and capped in resolution, and longer work moves to a paid plan. It processes uploaded files and short links to online clips, so you can skip the download step.
Worth knowing: the transparent file it gives you is a matte, not a finished edit. Place it over your new background in another editor, or use it in a tool that accepts alpha.
2. CapCut
CapCut is the most complete free option because the background remover sits inside a full editor. Remove the background, then add captions, music, transitions, and vertical framing without exporting anything in between. That single export step is what makes it a favorite for short form creators.
It runs on desktop and mobile, and it handles chroma key alongside AI removal, so you can use a green screen when you have one and AI when you do not. Auto captions are accurate enough for most talking head footage, and correcting them takes a minute.
Free exports are generous. Paid tiers mainly add stock media, more effects, and cleaner noise removal. If you publish short clips often, this one earns its place on your machine. For the caption and framing side of short form work, see Instagram notes ideas and how to find trending audio for Reels.
3. DaVinci Resolve
DaVinci Resolve is a professional editor whose free version is not a trial. It costs nothing, has no watermark, and no length cap. Its Magic Mask tools track a person, an object, or a plant across a clip, and Delta Keyer refines the edges when the automatic result needs help.
This is the tool to pick when your footage is more than a quick post, or when you plan to keep the cutout as an asset for later. Resolve has a full node based compositor, so you can grade the new background to match the lighting on your subject.
The learning curve is real. Budget a weekend. The paid Studio version adds noise reduction, some AI upscaling, and higher resolution limits, but the free build already covers background removal well.
4. Canva
Canva is the pick when the video needs a template, a logo, and text, not just a clean cutout. Its background remover works on video as well as images, and you can drop the result straight onto a branded social template or a slide.
The free plan gives you a limited number of removals each month, and transparent video export sits with the paid plans. Backgrounds you add on top stay in the same export, so a finished social clip costs nothing if you are happy with a solid color or a template.
Keep it in your kit for marketing clips and quick announcements. Reach for a dedicated tool when you need the cutout on its own.
5. Remaker.ai
Remaker.ai runs several AI media jobs in the same place, and video background removal is one of them. Upload a clip, get a cutout, place a new scene behind it. Nothing to install and no editing timeline to learn.
The catch is the free tier. Exports carry a watermark and a length limit, and a paid subscription removes both. The upscaler and other tools in the same bundle are handy if you have a mixed workload, but buying a bundle for one feature often costs more than a dedicated subscription.
Treat it as a convenient extra rather than the main tool in your workflow.
6. Blender
Blender is free, open source, and unlimited. Its Video Sequence Editor, combined with community addons such as Green Planet and BiRT, can pull a matte out of footage with no subscription and no watermark on any frame count.
You earn that by spending time in the setup. Masking lives in nodes, which rewards anyone who has used a compositor before and confuses everyone else. If you already edit in Blender, this is unbeatable value.
For everyone else, read it as the answer to a specific question: can you remove a background with no limits and no cost? Yes, and Blender is how.
Tip: Test With the Hardest Clip You Have
Do not judge a tool on a clean clip with a solid background. Take one with hair movement, a busy room, and some motion blur. Whatever fails there is what you will be fighting on a real project.
The Best Paid Tools
Paying buys three things: finer cleanup, higher limits, and a real editing environment around the removal. That matters when the clip goes in front of clients or runs longer than a minute.
7. Runway
Runway is an AI suite where keying is one tool among many. Alongside background removal, you get generative video, inpainting, object removal, and motion tools that plug straight into an AI directed workflow.
That is the appeal. If your creative process already runs inside Runway, adding a clean cutout costs you credits and little else. Plans are credit based, so heavy usage adds up, and exports are tied to the resolution and length limits of your plan.
For straightforward keying it is not the cheapest option. For a creator building video with AI, the rest of the toolkit is often worth the price on its own.
Runway sits at the generation end of the pipeline, so it pairs well with writing good prompts. Our guide to AI text-to-video prompts covers the formula that gets you usable footage worth masking.
8. Adobe Premiere Pro
Premiere Pro is the default choice for professional editing pipelines, and its background removal is built into the timeline. The Remove Background effect on a clip masks a subject without sending you to a separate tool, and Object Mask tracks a shape across frames for keying and cleanup.
You also get the rest of the classic keying toolkit, including Ultra Key, Color Range Key, and the Difference Matte approach for difficult footage. Pairs well with After Effects when a shot needs hand work.
The cost is the subscription, and the interface rewards practice. Teams already inside the Adobe suite get the most from it, since assets move between Premiere, After Effects, and Photoshop without a round trip.
9. Adobe After Effects
After Effects is where hard shots go. Roto Brush and Puppet Pin let you draw the mask by hand and have it follow motion, which handles wispy hair, thin objects, and semi transparent fabric far better than any automatic mask.
It is slow going. Frame by frame cleanup of a two minute clip can take hours, so reach for it on the shots that need it rather than the whole timeline. Adobe has also added AI assisted removal in the application, which handles the easy frames first and leaves you the hard ones.
If you only need one difficult clip, many editors will do that fix inside Premiere instead. After Effects pays off when difficult clips are routine.
10. Filmora
Filmora sits between CapCut and Premiere. It has AI background removal, keying, and denoise in a plain, easy to learn editor, without the node graphs or dense menus of the professional tools.
That makes it a common upgrade for creators who outgrew a simple mobile editor but do not want a professional suite. Exports are straightforward, and effects built for beginners keep short social edits quick.
The tradeoff is control. When a clip needs real compositing work, you will outgrow it and move to Resolve or Premiere. A trial is worth a test project before you commit.
Which Tool Should You Pick?
Match the tool to the job. Here is what each one is genuinely best at, and who should skip it.
- You have one clip and no software installed. Use Unscreen. Drag, drop, download, done.
- You post to TikTok, Reels, or Shorts daily. Use CapCut. Background removal plus captions plus export in one pass.
- Your work is client video and needs pro results. Use DaVinci Resolve. Free, no watermark, professional output.
- You need branded marketing clips fast. Use Canva. Templates and logos matter more than fine edge control here.
- You want zero cost and zero limits. Use Blender, if you can handle the setup.
- You already produce AI video and want keying in the same place. Use Runway.
- Your team runs Premiere already. Stay in Premiere and add After Effects for the difficult shots.
- Your hair, glasses, or motion keep breaking the mask. Go straight to After Effects Roto Brush. It is slower, and it works.
How to Remove a Video Background Step by Step
The workflow is the same whether you use a free browser tool or a paid suite. Seven steps, and the first two decide most of your final quality.
- Pick the right clip. Look for a subject with clear edges, even lighting, and no heavy motion blur.
- Frame it simply. Give the tool a shot where the subject does not overlap itself much. Harder framing means more manual fixes later.
- Run the automatic mask. Let the model find the subject. In most tools this is one click on the clip or a single button.
- Scrub the whole clip. Watch for the frames where the mask slips: fast head turns, hands crossing the body, an object entering frame.
- Paint the fix. Use the brush, refine, or matting brush to bring missing areas back. Then feather the edge slightly so it does not look cut out.
- Place the new background. Drop the cutout over footage, an image, or a solid color. Match the lighting and color temperature or the composite will look pasted on.
- Export correctly. Choose a format with an alpha channel if you need the cutout later. Otherwise export straight to MP4.
The Transparency Rule
MP4 has no alpha channel. If you export a cutout to MP4 expecting a transparent background, you will get black or white instead. Use WebM, MOV with alpha, or a PNG sequence for reusable cutouts.
# Place subject.mov (which has an alpha channel) over background.mp4
# Both clips must match in size and frame rate first.
ffmpeg -i background.mp4 -i subject.mov -filter_complex "[0:v][1:v]overlay=(W-w)/2:(H-h)/2" -c:a copy output.mp4

# Export a WebM cutout with transparency (VP9 supports alpha)
ffmpeg -i subject.mov -c:v libvpx-vp9 -pix_fmt yuva420p cutout.webm
Tips for Clean Edges
Most disappointing cutouts come down to a few fixable habits. These apply whether you use AI or a green screen.
- Contrast beats software. A subject that looks different from the background gives the model something to work with. Green clothing over green screen still fails.
- Light the background separately. Bright, even light on the backdrop is easier to key than a room with lamps and shadows.
- Feather, do not shrink. A mask with a soft edge blends naturally. A mask that is two pixels too tight looks cut off.
- Fix flicker early. A mask that flickers on one frame is more noticeable than a slightly soft edge across the whole clip.
- Match the new background. Adjust color, contrast, and sharpness on the composite until the subject no longer looks pasted in.
- Work at the highest quality. Masking on a compressed preview and exporting at full size produces blocky edges. Do the work on the original file.
- Green spill is real. When you key a green screen, some green bounces onto the subject. Desaturate the edges to clean it up.
- Keep the original. Save your cutout as a separate file with alpha so you never have to run the removal twice.
Common Mistakes to Avoid
Background removal has its own set of predictable traps. None of them are about the software being bad. They are about choosing the wrong tool for the footage, or skipping the cleanup pass.
- Trusting the auto mask without watching. The first frame often looks perfect. Scrub the whole clip before you export.
- Running AI removal on a clip you shot for a green screen. If you already have a clean key, use it. It is faster and more accurate.
- Working on low resolution files. Many messaging apps compress video before you download it. Get the original file.
- Forgetting that MP4 drops transparency. Export a format with an alpha channel when you need the cutout on its own.
- Matching nothing on the new background. Different lighting and color temperature make a perfect cutout look bad.
- Rerunning removal every render. Fix the mask once, save the cutout, and reuse it. Otherwise you pay for the same job over and over.
- Ignoring audio. Background removal touches picture only. Audio still needs its own cleanup pass in most tools.
- Overhauling the mask. Heavy editing of every frame costs hours for a difference most viewers never notice. Fix the frames that actually look wrong.
Frequently Asked Questions
Final Thoughts
The tools will keep changing. Names come and go, and models improve every few months. What does not change is the choice you face: shoot on a green screen, or shoot anywhere and fix it in software. Whichever route you pick, the quality still comes down to contrast in the footage, a careful scrub through the finished clip, and a background that matches the lighting.
Start free. Run one real project through Unscreen or CapCut, and see where the mask actually fails. That failure point tells you whether you need a better tool, better footage, or just a green screen and twenty minutes of extra setup.
Once you are publishing regularly, the production side matters as much as the recording side. Starting a YouTube automation channel with AI covers how to keep that work moving without a crew.
Related Articles
More tutorials and guides you might find helpful


